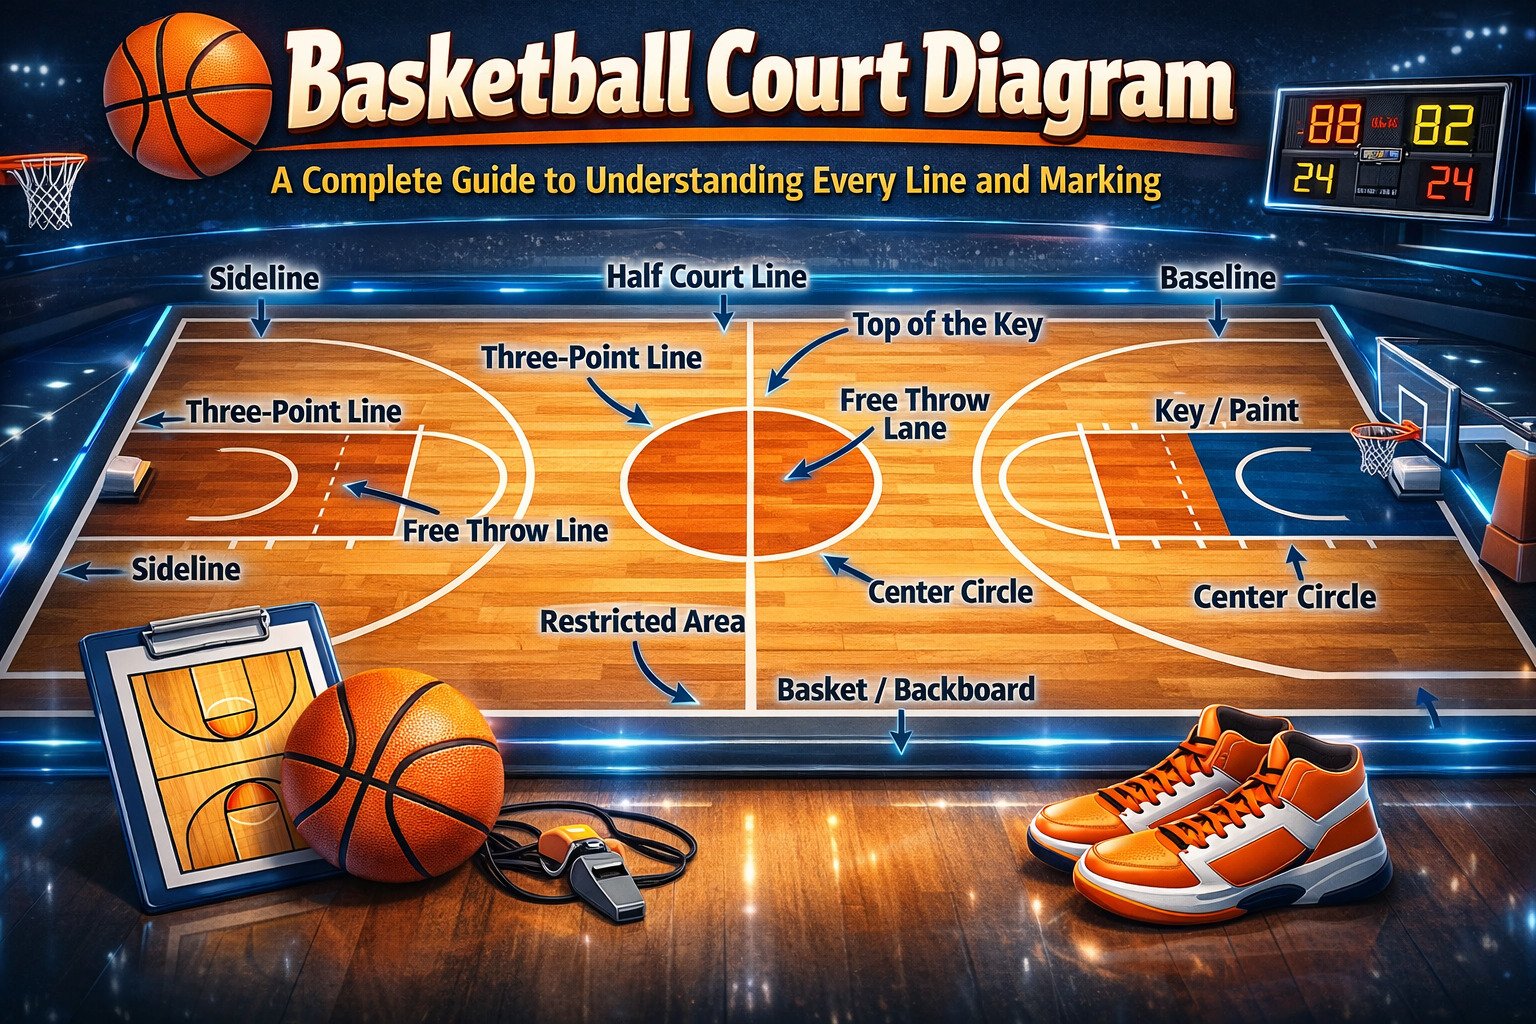
If you’ve ever looked at a basketball court diagram and thought, “Why are there so many lines?” — you’re not alone. At first glance, it might look like a maze of arcs, rectangles, and boundaries. But here’s the thing: every single line painted on that hardwood has a purpose. Nothing is random. Nothing is decorative. Each marking shapes how the game is played, how strategies unfold, and how referees enforce the rules.
A basketball court diagram is essentially a blueprint of the game itself. It shows the precise layout of the playing surface — from the center circle where the game tips off, to the three-point arc that has transformed modern basketball into a fast-paced scoring spectacle. Whether you’re a player, coach, student, or simply a fan trying to understand the game more deeply, learning how to read a basketball court diagram gives you a completely new appreciation for the sport.
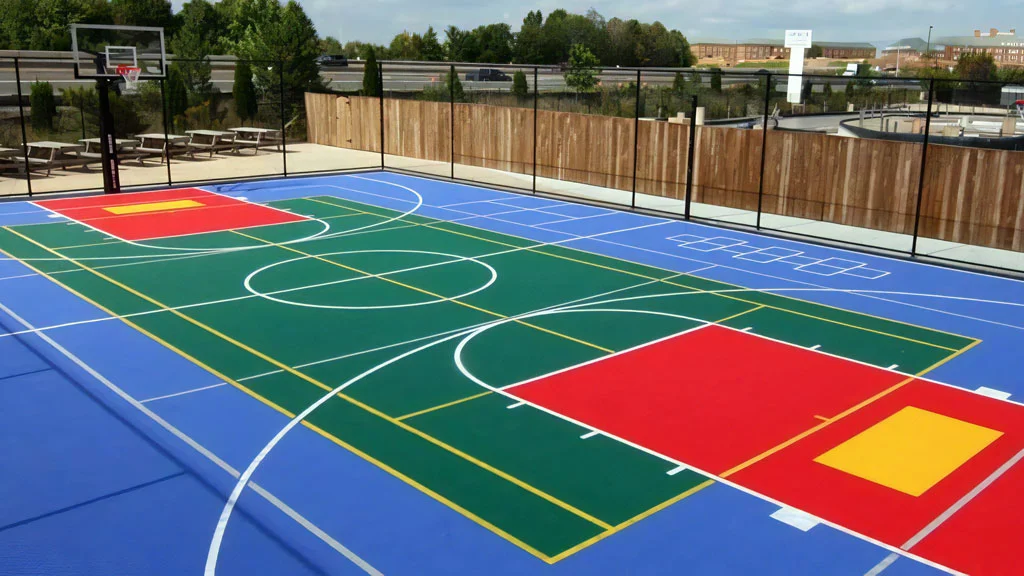
Upgrade Your Sports Court Today
Get premium synthetic acrylic flooring designed for durability, grip, and performance.
Get Free ConsultationThink of it like reading a map. If you don’t understand the symbols, you’re just staring at shapes. But once you know what they represent, suddenly you can navigate with confidence. The same goes for basketball. The diagram helps you understand spacing, positioning, rules, and tactics.
In this guide, we’ll break down every major component of the basketball court diagram in detail. You’ll learn the measurements, the rules connected to each line, and how these markings influence gameplay. By the end, you won’t just recognize the lines — you’ll understand the story they tell.
Let’s step onto the court.
Table of contents
- Official Basketball Court Dimensions
- The Center Circle and Midcourt Line
- The Three-Point Line
- The Free-Throw Lane (The Key or Paint)
- The Free-Throw Line and Free-Throw Circle
- The Restricted Area
- The Backboard and Rim Placement
- Baseline and Sidelines
- Team Benches and Scorer’s Table
- The Coach’s Box
- Court Surface and Materials
- Youth and Recreational Court Variations
- Reading a Basketball Court Diagram for Strategy
- Common Mistakes When Interpreting a Court Diagram
- Conclusion
Official Basketball Court Dimensions
Before diving into specific lines and markings, it’s crucial to understand the overall size of a basketball court. After all, every diagram is built around standardized measurements. And yes — those measurements vary depending on the league.
In the NBA, the official court dimensions are 94 feet long and 50 feet wide. That’s about 28.65 meters by 15.24 meters. It’s a rectangular surface designed for speed, spacing, and high-level athletic performance. The length allows for fast breaks, while the width creates room for strategic movement and shooting angles.
FIBA courts, which are used in international competitions, are slightly smaller. They measure 28 meters long by 15 meters wide (approximately 91.9 feet by 49.2 feet). The difference might seem minor, but even a few feet can affect spacing and defensive coverage. Players who compete internationally often notice these subtle changes.
College (NCAA) courts in the United States use the same dimensions as NBA courts — 94 by 50 feet. High school courts are typically the same size as well, though some older gymnasiums may be slightly smaller.
Why does size matter so much? Because basketball is a game of space. Spacing determines offensive flow, defensive pressure, and transition opportunities. A larger court demands more stamina. A slightly smaller one can feel more compact and physical.
When you look at a basketball court diagram, the outer rectangle represents this full playing area. Everything else — the arcs, circles, and painted areas — fits within these boundaries.
Understanding these base dimensions gives you context for every other marking we’ll discuss. It’s the foundation. And like any good blueprint, the details only make sense once you understand the frame.
The Center Circle and Midcourt Line
Right at the heart of the basketball court diagram sits the center circle — a simple yet symbolic marking. This is where the game begins. The opening tip-off happens here, setting the tone for everything that follows.
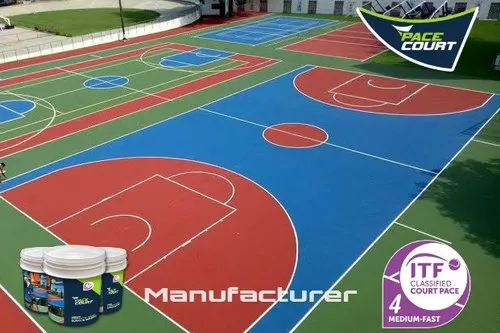
Upgrade Your Sports Court Today
Get premium synthetic acrylic flooring designed for durability, grip, and performance.
Get Free ConsultationThe center circle has a radius of 6 feet in NBA courts. At the very middle lies the exact midpoint of the court, intersected by the midcourt line (also called the half-court line). This line divides the playing surface into two equal halves: the frontcourt and the backcourt.
But this isn’t just about starting the game. The midcourt line plays a huge role in gameplay rules. Once the offensive team advances the ball past this line into the frontcourt, they cannot bring it back into the backcourt. Doing so results in a backcourt violation. This rule prevents teams from stalling and encourages continuous offensive action.
There’s also the 8-second rule (in NBA and FIBA), which requires a team to move the ball across the half-court line within eight seconds of gaining possession. Miss that window? Turnover.
Strategically, the midcourt line also influences defensive schemes. Full-court presses begin in the backcourt, aiming to trap opponents before they can cross the line. Meanwhile, offenses carefully design inbound plays to beat aggressive pressure.
In a basketball court diagram, the center circle may look simple — just a circle bisected by a straight line. But don’t underestimate it. This is the dividing line between defense and attack, hesitation and commitment, control and chaos.
Every possession crosses this threshold. And every game begins right here.
The Three-Point Line
If one line has revolutionized basketball more than any other, it’s the three-point line. On a basketball court diagram, it appears as a large arc stretching around the perimeter of the offensive half. But in reality, it represents one of the most strategic elements of modern basketball.
In the NBA, the three-point line is 23 feet 9 inches from the basket at the top of the arc, and 22 feet in the corners. FIBA’s three-point line is slightly shorter at 22 feet 1.75 inches (6.75 meters). College basketball has its own measurement as well.
That slight difference in distance dramatically affects gameplay. A shorter line increases shooting percentages. A longer one demands greater range and strength.
Why is the three-point line so important? Because shots made beyond it are worth three points instead of two. That extra point changes everything. Teams now design entire offenses around spacing the floor to create open three-point shots. Players train specifically to extend their shooting range.
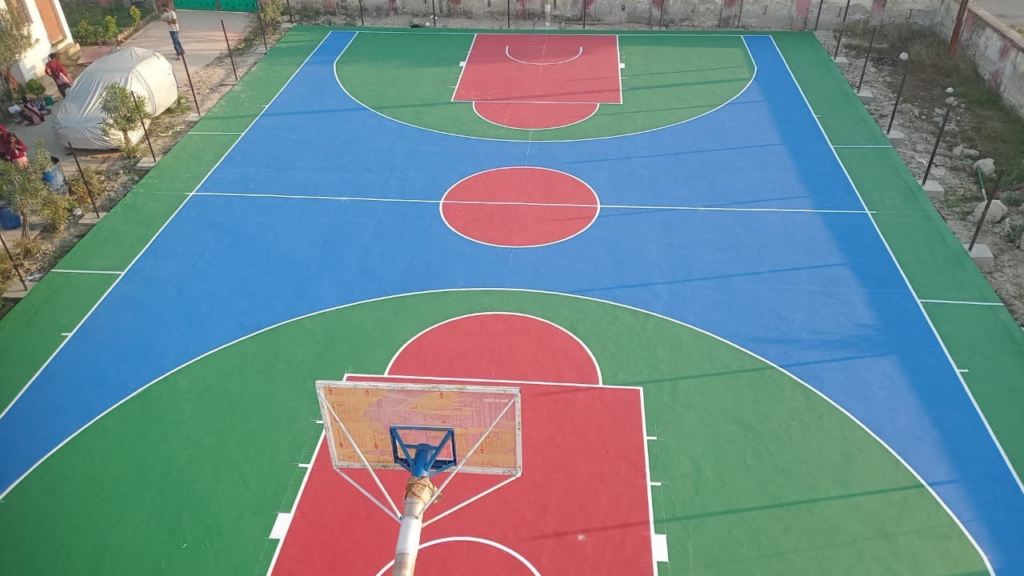
Upgrade Your Sports Court Today
Get premium synthetic acrylic flooring designed for durability, grip, and performance.
Get Free ConsultationDefensively, guarding the three-point arc requires quick rotations and awareness. Leave a shooter open for a split second, and you could give up three points in the blink of an eye.
On the court diagram, the arc intersects with straight lines in the corners. Those corner threes are among the shortest long-distance shots — and statistically one of the most efficient.
In today’s game, the three-point line isn’t just a marking. It’s a battlefield. Teams win and lose championships based on how well they utilize this arc.
And on paper, it’s just a curve. But in reality, it reshaped basketball forever.
The Free-Throw Lane (The Key or Paint)

Take one look at a basketball court diagram, and your eyes will immediately be drawn to the large rectangular area under the basket. This section is known as the free-throw lane — but you’ve probably heard it called “the key” or “the paint.” Why the paint? Because traditionally, this area was painted a different color than the rest of the hardwood, making it stand out visually. And trust me, it stands out strategically too.
In the NBA, the lane is 16 feet wide. In FIBA competitions, it measures 4.9 meters (about 16 feet as well, though historically it used to be narrower). The length extends from the baseline to the free-throw line, which sits 15 feet from the backboard. On older court diagrams, the lane used to resemble an actual keyhole shape — hence the nickname “the key.” Modern diagrams show a clean rectangle, but the name stuck.
Why does this area matter so much? Because it’s prime real estate. The closer you are to the basket, the higher your shooting percentage. Players battle for position inside the paint like it’s valuable territory — and in many ways, it is.
The paint is also governed by strict rules. The most famous? The three-second violation. Offensive players cannot remain inside the lane for more than three consecutive seconds while their team has possession in the frontcourt. This rule prevents big players from simply camping under the basket all game.
Defensively, there’s also a defensive three-second rule in the NBA. A defender can’t stay in the paint for more than three seconds unless actively guarding someone. That keeps the lane from becoming permanently clogged.
When you see that rectangle on a basketball court diagram, don’t just think “paint.” Think power, positioning, rebounds, shot-blocking, and physical dominance. This is where games often get gritty.
The Free-Throw Line and Free-Throw Circle

At the top of the lane sits one of the most pressure-packed spots in sports: the free-throw line. On a basketball court diagram, it’s a simple horizontal line, 15 feet from the backboard. But in real life? It can feel like the longest 15 feet in the world.
The free-throw line is where players take uncontested shots after certain fouls. Each free throw is worth one point. Sounds simple, right? No defenders. No clock pressure (most of the time). Just the shooter and the basket. Yet even professionals sometimes struggle here. Why? Because it’s mental.
Surrounding the line is the free-throw circle, which has a 6-foot radius. Half of it extends into the paint, and the other half sits outside. During free throws, players line up along the lane spaces marked on both sides. The diagram clearly shows these designated rebounding positions.
There are strict lane violation rules during free throws:
- Players cannot step into the lane until the ball leaves the shooter’s hand.
- The shooter must not cross the line until the ball hits the rim.
- Defenders and offensive players must occupy marked spaces correctly.
Violations can lead to retaken shots or possession changes.
Strategically, free throws win games. It’s often said that championships are decided at the line. A team that shoots 85% from the free-throw line has a massive advantage over one shooting 65%.
On the diagram, this area might look calm and symmetrical. In reality? It’s a stage. The crowd goes silent. The shooter dribbles. Breath slows. Release.
Swish — or heartbreak.
The Restricted Area
Look closely at a modern basketball court diagram, and you’ll notice a small arc under the basket inside the paint. That’s the restricted area. It may seem minor, but it changed defensive play dramatically.
In the NBA, the restricted arc has a radius of 4 feet from the center of the basket. FIBA uses a similar measurement. This arc determines whether a defender can draw a charging foul.
Here’s how it works: If a defender is standing inside the restricted area and contact occurs with an offensive player driving to the basket, the defender cannot draw an offensive foul (with certain exceptions). Instead, it’s typically ruled a blocking foul.
Why introduce this rule? Player safety and fairness. Before the restricted arc, defenders could slide directly under airborne players to draw charges, creating dangerous mid-air collisions. The arc discourages that tactic.
This small curved line on the diagram protects players attacking the rim. It encourages athletic finishes, dunks, and layups without excessive fear of late defensive positioning.
From a strategy standpoint, defenders must establish position outside the arc to draw a charge. That requires anticipation, footwork, and timing.
So while it’s just a subtle semicircle on paper, in real gameplay, the restricted area often determines highlight plays — or controversial foul calls.
The Backboard and Rim Placement

The basketball court diagram doesn’t just show floor markings. It also represents hoop placement. And those measurements are non-negotiable.
The rim stands exactly 10 feet above the playing surface. Not 9 feet 11 inches. Not 10 feet 1 inch. Exactly 10 feet. This universal standard has remained unchanged for decades.
The rim itself measures 18 inches in diameter. The backboard is 6 feet wide and 3.5 feet tall in the NBA. A small rectangle, often called the “shooter’s square,” is painted above the rim to help players aim bank shots.
The hoop extends 4 feet from the baseline into the court. This spacing allows players to move behind the basket for reverse layups.
Why such precision? Because basketball is a game of repetition and muscle memory. Change the rim height by even an inch, and shooting percentages drop dramatically.
On the diagram, the hoop is usually shown as a small circle attached to a rectangle. But in real life, it’s the focal point of everything. Every strategy, every pass, every screen ultimately aims to put the ball through that 18-inch circle.
Simple. Elegant. Relentless.
Baseline and Sidelines
The outer boundary lines of the basketball court diagram form the rectangle that defines play. The longer lines are called sidelines. The shorter ones behind the baskets are called baselines (or end lines).
Step on or beyond these lines while holding the ball? You’re out of bounds. If the ball touches the line, it’s considered out.
Inbounding happens from the baseline after made baskets and from the nearest spot after most violations. These boundary lines dictate spacing and pressure.
Think about corner three-point shots. Players often position themselves just inches from the sideline and baseline intersection. One small misstep? Turnover.
Defensively, teams use the sidelines as an extra defender. Trap a ball-handler near the boundary, and you’ve effectively limited their escape routes.
On a diagram, the boundary lines may look basic — just a rectangle. But they shape every possession, every fast break, every defensive trap.
They’re the invisible walls of the basketball battlefield.
Team Benches and Scorer’s Table
While not always highlighted in basic diagrams, official basketball court layouts include designated bench areas and a scorer’s table at midcourt along one sideline.
The scorer’s table manages:
- Game clock
- Shot clock
- Scorekeeping
- Fouls and substitutions
Team benches sit on either side of the table. Only players, coaches, and authorized staff can occupy this area.
Substitution zones are clearly marked. Players must report to the scorer’s table before entering the game.
Even though these aren’t scoring areas, they influence game flow. Quick substitutions, timeout management, and communication all start here.
On detailed court diagrams, these areas show the full ecosystem of the game — not just the scoring zones.
Basketball isn’t just played on the hardwood. It’s orchestrated from the sidelines too.
The Coach’s Box
If you glance at a detailed basketball court diagram, you might notice a rectangular area marked along the sideline in front of the team bench. That’s the coach’s box. It may not seem like a big deal compared to the three-point arc or the paint, but this small boundary plays a surprisingly important role in maintaining order during a fast-paced game.
The coach’s box is typically marked by a 28-foot line extending from the baseline toward midcourt. Coaches are allowed to stand and move within this area while directing their team. Step beyond it too often, and they risk a warning — or even a technical foul.
Why does this matter? Because basketball is emotional. Coaches react. They argue calls. They shout instructions. Without boundaries, chaos could easily spill onto the court. The coach’s box creates a controlled space where leadership and strategy unfold without interfering with play.
Think of it like a command center. From this box, coaches call plays, signal defensive adjustments, and motivate players. A subtle hand gesture might trigger a full-court press. A quick shout might switch a defensive scheme from man-to-man to zone.
On a basketball court diagram, the coach’s box looks simple — just another marked area. But in real life, it’s where tactical chess matches happen. It’s where calm minds try to outthink opponents in the middle of noise and pressure.
So next time you see a coach pacing within those invisible boundaries, remember: that rectangle is more than paint. It’s the edge of leadership.
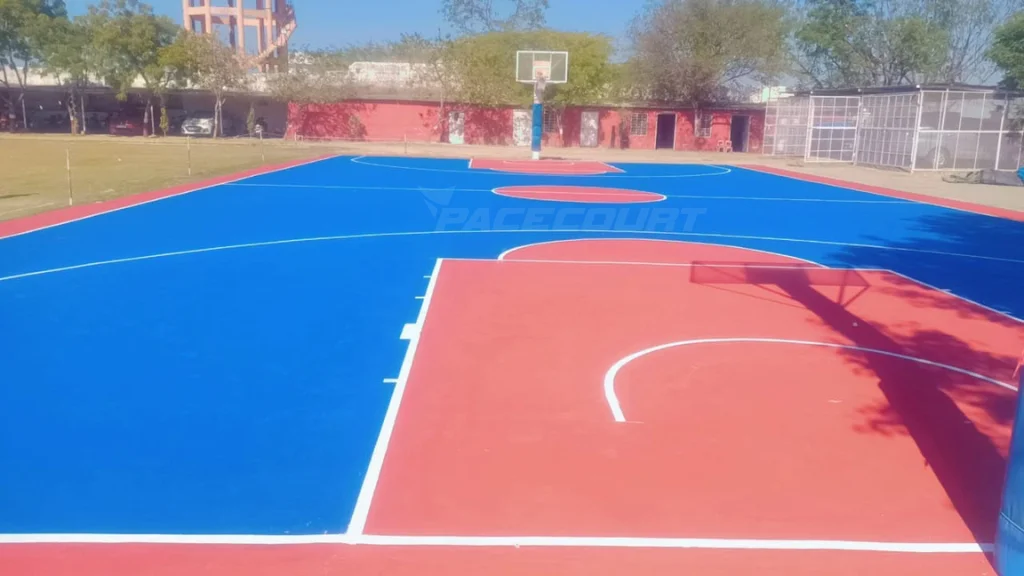
Court Surface and Materials
A basketball court diagram shows lines and measurements, but it doesn’t show something equally important — the surface itself. Yet the type of flooring underneath those lines directly affects performance, safety, and even strategy.
Most professional and collegiate courts are made of hardwood, typically maple. Maple is chosen because it’s durable, smooth, and provides a consistent bounce. It absorbs shock well, reducing stress on players’ joints. That’s critical in a sport filled with jumping, sprinting, and abrupt changes in direction.
Why not concrete? Because basketball demands precision. A slightly uneven surface can affect dribbling. A floor that’s too stiff increases injury risk. A surface that’s too slippery leads to dangerous falls.
Some recreational or outdoor courts use synthetic materials or asphalt. While these are more cost-effective and weather-resistant, they change the game slightly. The ball may bounce differently. Foot traction might vary. Players often adjust subconsciously.
On a diagram, the court surface is invisible — it’s assumed. But if you’ve ever played on different surfaces, you know the difference instantly. Hardwood feels alive. The squeak of sneakers, the rhythmic echo of dribbles — it’s part of the experience.
The court isn’t just lines painted on wood. It’s a carefully engineered stage designed for speed, agility, and control. Underneath every marking lies a foundation that supports the entire game.
Youth and Recreational Court Variations
Not every basketball court follows NBA or FIBA measurements exactly. When you look at youth or recreational basketball court diagrams, you’ll often see modified dimensions — and that’s intentional.
Younger players typically use smaller courts. Why? Because a full 94-foot court can feel overwhelming for children still developing strength and endurance. Shorter court lengths encourage proper skill development instead of exhausting sprints.
For example:
- Youth courts may measure 74 feet instead of 94.
- Rim height might be lowered to 8 or 9 feet for younger age groups.
- The three-point line may be closer.
These adjustments help players focus on fundamentals — shooting form, ball-handling, spacing — without being physically overmatched by distance.
Recreational leagues sometimes eliminate the three-point line altogether, especially for beginners. This keeps attention on passing and teamwork instead of long-range shooting.
When interpreting a basketball court diagram, it’s important to know which level of play it represents. A youth diagram won’t match a professional one exactly.
Think of it like training wheels. The game structure remains the same, but the scale adjusts to fit the athlete. Over time, as players grow stronger and more skilled, the court grows with them.
Basketball is universal, but its layout evolves depending on who’s playing.
Reading a Basketball Court Diagram for Strategy
A basketball court diagram isn’t just a rulebook reference — it’s a strategy map. Coaches use it like a blueprint when designing plays. Players study it to understand spacing. Analysts use it to break down tendencies.
Offensively, spacing is everything. Imagine five players standing too close together. The defense collapses easily. But spread them out across the three-point arc and inside the paint, and suddenly defenders must cover more ground.
The diagram helps illustrate:
- Pick-and-roll positioning
- Isolation plays
- Zone offensive sets
- Fast break lanes
Defensively, alignment is equally important. A 2-3 zone defense positions two players near the top of the key and three along the baseline area. On a diagram, it’s clear and organized. On the court, it’s dynamic and reactive.
Coaches often draw arrows on diagrams to show movement — backdoor cuts, screens, rotations. The static lines of the court become pathways of motion.
Think of the diagram like a chessboard. Each marking defines possible movement. Every arc and boundary influences where players stand and how they attack.
Once you truly understand the diagram, you start seeing the game differently. You don’t just watch the ball. You watch spacing. Angles. Gaps.
And suddenly, basketball becomes a beautiful geometric puzzle unfolding in real time.
Common Mistakes When Interpreting a Court Diagram
Even though a basketball court diagram looks straightforward, people often misunderstand certain lines. And those small misunderstandings can lead to big confusion.
One common mistake is confusing the three-point line with the top of the key arc. The free-throw circle arc extends into the three-point area, and visually they can overlap in certain diagrams. But they serve completely different purposes.
Another misunderstanding involves the restricted area. Some assume defenders can draw charges anywhere in the paint. That’s not true — the restricted arc clearly limits that ability.
Measurement differences between leagues also cause confusion. A player might practice from a FIBA three-point distance but compete on an NBA court, where the arc is farther out. Those extra inches matter.
People also overlook corner three-point distances. The arc shortens in the corners because the sideline cuts off the curve. That’s why corner threes are statistically easier.
When reading a diagram, context is key. What league? What age group? What rule set?
A court diagram isn’t just shapes. It’s a coded language. Misread one symbol, and the whole interpretation shifts.
Conclusion
A basketball court diagram may look like a collection of lines, arcs, and rectangles — but behind every marking lies purpose, precision, and strategy. From the center circle where games begin, to the three-point arc that reshaped modern offenses, each element influences how basketball is played and understood.
The paint defines power. The free-throw line tests composure. The restricted arc protects players. The sidelines create invisible walls. Even the coach’s box shapes leadership.
Understanding the diagram transforms how you see the game. You stop watching randomly and start recognizing structure. You notice spacing, positioning, angles, and rules that once seemed invisible.
Basketball isn’t chaos. It’s controlled movement within carefully measured boundaries.
And it all starts with a diagram.