Introduction:
Welcome to the Pacecourt DIY Acrylic Resurfacing Guide! Whether you are a stadium manager, backyard homeowner, or school administrator, maintaining your synthetic acrylic sports flooring is essential for safety and performance. In this comprehensive guide we will walk you through the step-by-step process of resurfacing your sport surface with the help of Pacecourt’s premium products. Acrylic resurfacing not only restores the aesthetic appeal of your court, but also makes it durable and playable. By following our guidelines and using industry-leading Pacecourt products, you can achieve a professional finish without having to perform expensive professional services.
In this blog we will provide you from surface preparation to final finishing touches, detailed guidance and expert advice to ensure your resurfacing project is a success. Whether you’re a keen DIY enthusiast or tackling a home improvement project for the first time, our guides will equip you with the knowledge and confidence to transform your playground into a safe and efficient playground. Let’s get started!
DIY Acrylic Resurfacing: The Basics:
Before we jump into step-by-step instructions, let’s quickly go through the basics of acrylic resurfacing. Acrylic resurfacing, a technique commonly used in acrylic flooring, is an effective way to rejuvenate worn sports floors without the need for expensive construction. This involves applying a thin layer of acrylic paint to the existing surface to restore aesthetics, improve traction and increase efficiency.
Step1: Preparations
Before starting, make sure that the surface is clean and free from any debris, dirt or oil. Use a pressure washer or a powerful detergent solution to completely remove dirt from the area. Let it dry and then proceed.
Step 2: Repair the Damage
Check the surface for any cracks, holes or other defects. Fill in all the imperfections with an appropriate acrylic patching compound. Then smoothen out the patched areas using a putty knife and allow them to dry as per manufacturer’s instructions.
Step 3: Sanding
After drying off patched regions lightly sand the entire surface with floor sander or hand-held sander using fine-grit sandpaper, this will roughen up existing acrylic surface providing better adhesion for new coating.
Step 4: Applying Primer
Use either a paint roller or sprayer to apply one coat of acrylic primer covering all parts evenly. Allow it to dry completely before proceeding further. This is vital in ensuring good adhesion as well as long life of new acrylic coating.
Step 5: Preparation of the Acrylic Resurfacer
Just follow the manufacturer’s instructions on how to mix the acrylic resurfacer. Pacecourt supplies top quality sports surface acrylic resurfacing which is specially designed for synthetic surface. Ensure that you blend together the resurfacers evenly so as to get a smooth and uniform finish.
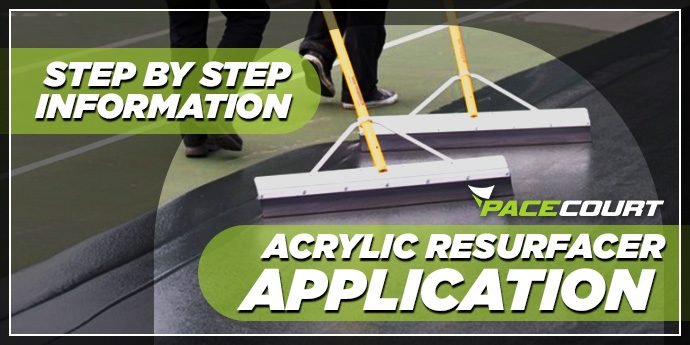
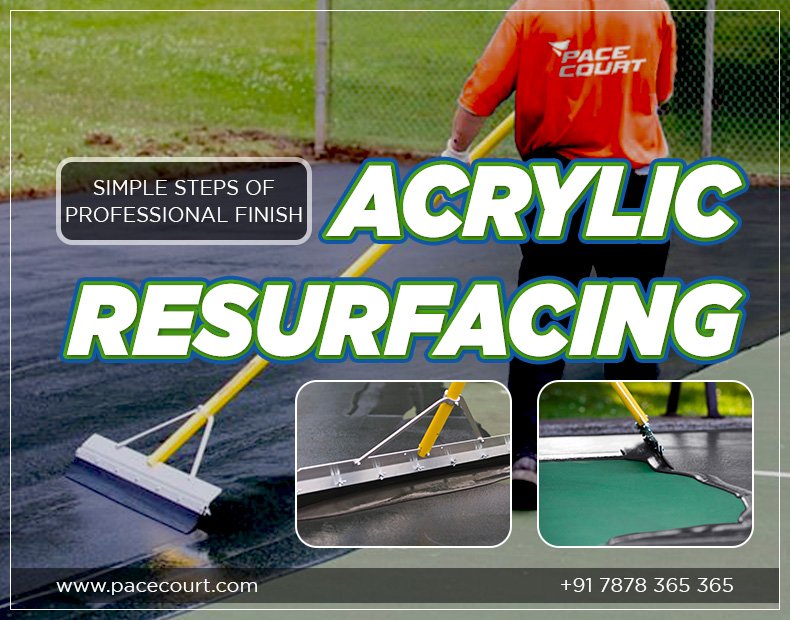
Step 6: Applying Resurfacer
You may use a squeegee or long handled roller to put on thin layers of the acrylic resurfacer onto the surface. This should be done in small sections, each slightly overlapping so as to cover all parts completely. It is not good when applying it too much since it dries unequally and unevenly.
Step 7: Adding Texture (Optional)
To enhance traction and grip, one can texture coats if you wants to. For this purpose, use different kinds of textured additives which could be mixed with the applied acrylic resurfacers just before use. Just abide by manufacturers’ instructions for achieving desired texture and method of application.
Step 8: Curing and Drying
Avoid any foot traffic or playing on freshly done areas until it has dried up fully and hardened. This usually happens between 24-48 hours, depending on temperature as well as moisture levels in the air. Let us not expose them directly under heavy rains or extreme temperatures while hardening takes place.
Step 9: Perfecting Your Acrylic Coating
Once the surface has completely cured, evaluate it for any blemishes or places that might need retouching. Use a sandpaper with very fine grit to even out any rough patches, and add an extra layer of acrylic sealer for more protection and lastingness.
Step 10: Perfecting Your Acrylic Coating: Tips & Maintenance
Kudos! You have successfully completed your DIY acrylic resurfacing project. Following are some tips to maintain your sports floor:
Upgrade Your Sports Court Today
Get premium synthetic acrylic flooring designed for durability, grip, and performance.
Get Free Consultation- Wash the floor on a daily basis with mild detergent along with a gentle mop or broom to remove the dust on the floor.
- Abstain dragging heavy objects or the use of sharp object to prevent scratches and damages.
- Inspect the floor sometimes for any wear and tear, in order to prevent further destruction.
- In order to maintain your sports flooring, apply a coat of acrylic resurfacer frequently every few years to restore its appearance and performance.
Conclusion:
DIY Acrylic Resurfacing permits you to emerge worn-out sports flooring into something beautiful without doing any construction work. Therefore you can achieve high-quality results through step-by-step instructions provided by Pacecourt on use of their superior synthetic acrylic resurfacing products. Therefore, brace yourself to bring back life onto your playing field while reaping the rewards associated with rejuvenation.
Upgrade Your Sports Court Today
Get premium synthetic acrylic flooring designed for durability, grip, and performance.
Get Free Consultation