Basketball court flooring isn’t just something you play on—it’s something that plays with you. Every sprint, jump, pivot, and hard landing sends force straight through your feet, ankles, knees, and hips. The type of surface beneath you decides whether that force is absorbed safely or fired right back into your joints like a loaded spring. That’s why flooring is one of the most overlooked yet critical aspects of basketball performance and long-term health.
For beginners, the wrong flooring can turn learning the game into a painful experience. Slippery surfaces kill confidence, while rock-hard courts punish joints and muscles that aren’t conditioned yet. Intermediate players start to feel the difference more clearly. As speed increases and movements become sharper, flooring quality starts influencing reaction time, balance, and even shooting rhythm. Advanced players? They demand perfection. A slight inconsistency in bounce or grip can throw off elite-level play.
There’s also the injury factor. Poor flooring contributes to ankle sprains, knee stress, shin splints, and lower back pain. Over time, these issues stack up. A good basketball floor reduces fatigue, improves movement efficiency, and allows players to train longer without breaking down physically. It’s like wearing the right shoes versus running barefoot on gravel—same athlete, wildly different outcome.
In short, basketball flooring isn’t a background detail. It’s a silent teammate that either supports your game or slowly sabotages it. Understanding this is the first step toward choosing the best basketball court flooring for your skill level.
Table of contents
- The Science Behind Basketball Court Flooring
- Types of Basketball Court Flooring
- Hardwood Basketball Flooring: The Gold Standard
- Synthetic Basketball Court Flooring Options
- Modular Interlocking Basketball Court Tiles
- Outdoor Basketball Court Flooring Explained
- Best Basketball Court Flooring for Beginners
- Best Basketball Court Flooring for Intermediate Players
- Best Basketball Court Flooring for Advanced and Professional Players
- Indoor vs Outdoor Basketball Flooring: A Detailed Comparison
- Safety Standards and Certifications for Basketball Flooring
- Installation Process and Timeframe for Basketball Court Flooring
- Common Mistakes When Choosing Basketball Court Flooring
- Final Thoughts: Choosing the Best Basketball Court Flooring for Your Needs
The Science Behind Basketball Court Flooring
At first glance, a basketball court might just look flat and hard. But beneath that surface lies a carefully engineered system designed to manage energy, friction, and impact. Good basketball flooring is a blend of physics, biomechanics, and material science working together.
Shock absorption is the big one. Every time a player jumps and lands, several times their body weight crashes into the floor. High-quality flooring absorbs a portion of that impact, reducing stress on joints and muscles. Hardwood and polyurethane systems excel here, while concrete does almost nothing to protect the body. Over time, that difference can mean healthy knees—or chronic pain.
Ball bounce consistency is another critical factor. Basketball is a rhythm-based game. Dribbling relies on predictable rebound height and speed. Uneven or overly soft surfaces kill that rhythm, forcing players to adjust constantly. Professional-grade flooring ensures uniform ball response across the entire court, allowing players to focus on skill instead of compensation.
Traction is where things get interesting. Too little grip and players slip, risking injury. Too much grip and the foot sticks while the body twists, which is a recipe for knee injuries. The best basketball flooring finds that sweet spot—enough traction for explosive movement without locking the foot in place.
All these elements—shock absorption, ball response, and traction—must work together. When they do, the floor almost disappears from the player’s awareness. And that’s exactly the goal: a surface that supports performance without demanding attention.
Types of Basketball Court Flooring
Before choosing the best flooring, it helps to understand the full landscape of basketball court surfaces. Think of this section as zooming out and looking at the map before picking a route. Not all basketball courts are built for the same purpose, environment, or player level, and flooring options reflect that diversity.
The first major divide is indoor vs outdoor basketball flooring. Indoor courts prioritize performance, comfort, and consistency. They’re protected from weather, which allows for materials like hardwood, vinyl, and polyurethane that would never survive rain or UV exposure. Outdoor courts, on the other hand, are built to endure heat, cold, moisture, and constant wear. Durability often wins over comfort outside, which is why concrete and asphalt are still common—despite their drawbacks.
Next comes permanent vs modular flooring systems. Permanent flooring is installed once and intended to stay for decades. Hardwood courts and poured polyurethane systems fall into this category. They require professional installation and higher upfront costs but offer elite performance. Modular systems, usually interlocking tiles, are more flexible. They can be installed, removed, and relocated, making them popular for home courts, schools, community centers, and temporary events.
Finally, there’s natural vs synthetic surfaces. Natural wood, especially maple, has been the gold standard for decades. Synthetic materials like vinyl, rubber, acrylic, and PU are engineered alternatives designed to mimic or enhance certain properties of wood while reducing maintenance or cost.
Understanding these categories helps narrow your options fast. A beginner setting up a driveway hoop doesn’t need the same surface as a competitive indoor league. Once you know where and how the court will be used, the “best” flooring choice becomes much clearer.
Hardwood Basketball Flooring: The Gold Standard
When people picture a “real” basketball court, they almost always imagine polished hardwood. That’s not an accident. Hardwood—specifically maple wood—has earned its reputation through decades of elite-level play.
Upgrade Your Sports Court Today
Get premium synthetic acrylic flooring designed for durability, grip, and performance.
Get Free ConsultationMaple is dense, durable, and incredibly consistent. It provides excellent ball bounce, controlled traction, and natural shock absorption. This is why professional leagues, including the NBA and NCAA, rely on maple hardwood courts. The surface responds predictably, which allows players to move instinctively without hesitation.
The pros are hard to ignore:
- Outstanding shock absorption when installed with a proper subfloor
- Ideal traction balance for quick cuts and pivots
- Perfectly consistent ball response
- Prestigious look and feel
But hardwood isn’t perfect. It’s expensive—not just to install, but to maintain. Regular cleaning, refinishing, humidity control, and occasional repairs are part of the deal. Moisture is its enemy, which makes hardwood unsuitable for outdoor courts or poorly ventilated spaces.
So who should choose hardwood? Advanced players, competitive leagues, professional training facilities, and schools with long-term budgets. For beginners or casual users, hardwood is often overkill. It’s like buying a race car to learn how to drive. Incredible—but not always practical.
Synthetic Basketball Court Flooring Options
Synthetic flooring has come a long way. Today’s materials aren’t cheap knockoffs of hardwood—they’re purpose-built solutions designed to solve specific problems like cost, maintenance, or multi-sport use.
Polyurethane (PU) flooring is one of the most popular indoor alternatives to hardwood. It’s poured or layered over a prepared subfloor, creating a seamless surface with excellent shock absorption. PU floors are forgiving on joints, quiet underfoot, and highly customizable. They’re commonly used in schools, gyms, and training centers.
Vinyl sports flooring offers a more budget-friendly option. It’s durable, easy to clean, and suitable for multi-purpose gyms. While it doesn’t quite match hardwood or PU in performance, it’s a solid middle ground for intermediate-level play.
Rubber flooring, often used in training areas, provides great shock absorption but can compromise ball bounce. That makes it better for drills and conditioning than full competitive games.
Synthetic options shine in versatility. They resist moisture better than wood, require less maintenance, and can be tuned for different performance needs. For many users, especially intermediate players, synthetic flooring hits the sweet spot between performance and practicality.
Modular Interlocking Basketball Court Tiles
Modular basketball flooring is like LEGO for sports courts. Interlocking tiles snap together over an existing surface, creating a playable court without permanent construction. These systems are especially popular for home courts, outdoor spaces, and facilities that need flexibility.
The biggest advantage is ease of installation. No adhesives, no curing time, no professional crews required. You can build a court in a day. Modular tiles also allow for drainage, making them excellent for outdoor use.
Performance-wise, modern modular tiles offer decent traction and consistent ball bounce, though they still fall short of hardwood or PU for elite play. Shock absorption varies by brand and tile design, so quality matters a lot here.
Limitations include:
- Slightly noisier surface
- Less refined feel compared to professional courts
- Potential movement if installed incorrectly
For beginners and intermediate players, modular flooring is often an excellent choice—especially for home use. It’s affordable, durable, and forgiving enough to support skill development without punishing the body.
Outdoor Basketball Court Flooring Explained
Outdoor courts are where compromises happen. Weather resistance, durability, and cost usually take priority over comfort and performance.
Concrete is the most common outdoor surface, mainly because it’s cheap and lasts forever. Unfortunately, it’s also unforgiving. Zero shock absorption means every jump sends full impact into your joints. Over time, this leads to pain and injury.
Asphalt is slightly better, offering minimal flexibility, but it still doesn’t compare to purpose-built sports surfaces.
Modern solutions include acrylic coatings and outdoor modular tiles. Acrylic surfaces are layered over asphalt or concrete, improving traction and appearance while reducing surface hardness slightly. Modular tiles, as mentioned earlier, offer drainage, better grip, and a more player-friendly feel.
For outdoor play, the “best” flooring balances durability with injury prevention. If concrete is unavoidable, using quality basketball shoes and limiting play duration becomes crucial.
Best Basketball Court Flooring for Beginners
Beginners need forgiveness—plain and simple. At this stage, players are still learning movement patterns, balance, and body control. Flooring that’s too hard or too slippery increases the risk of injury and frustration.
The best flooring for beginners:
- Offers good shock absorption
- Has moderate traction
- Is cost-effective
- Requires minimal maintenance
Modular tiles, vinyl sports flooring, and polyurethane systems are all excellent beginner-friendly options. They protect joints, reduce fatigue, and allow players to focus on learning the game instead of worrying about slipping or soreness.
Beginners don’t need perfection—they need safety and consistency. Get that right, and everything else follows.
Best Basketball Court Flooring for Intermediate Players
Intermediate players sit at the crossroads. They move faster, jump higher, and play longer. Flooring now starts to affect performance, not just comfort.
At this level, PU flooring, high-quality modular tiles, and well-maintained vinyl courts shine. These surfaces support sharper cuts, quicker transitions, and more aggressive play without the extreme cost of hardwood.
Intermediate players benefit most from flooring that balances performance with durability. It should allow them to train hard while still protecting their bodies for long-term development.
Best Basketball Court Flooring for Advanced and Professional Players
Advanced players demand excellence. There’s no room for inconsistency. Every dribble, cut, and landing must feel identical across the court.
That’s why maple hardwood flooring remains the gold standard. High-end polyurethane systems also perform exceptionally well when installed correctly. These surfaces meet professional safety standards and deliver elite-level responsiveness.
Advanced players should never compromise on flooring. At this level, the floor isn’t just equipment—it’s part of the game itself.
Indoor vs Outdoor Basketball Flooring: A Detailed Comparison
Choosing between indoor and outdoor basketball flooring is one of the most important decisions when planning a basketball court. Each surface type is designed for different environments, playing conditions, budgets, and maintenance requirements.
Indoor basketball flooring is typically installed in sports halls, schools, academies, and stadiums. These courts usually feature wooden sports flooring or synthetic PU systems that offer excellent shock absorption, smooth ball bounce, and player comfort. Indoor courts are protected from weather, making them ideal for professional training and competitive matches, but they require higher initial investment and controlled environments.
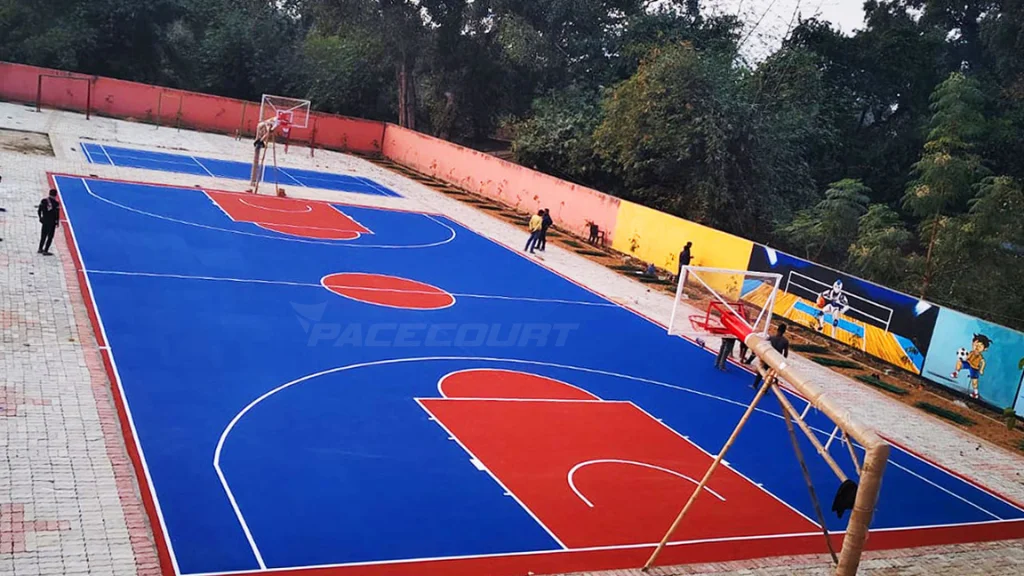
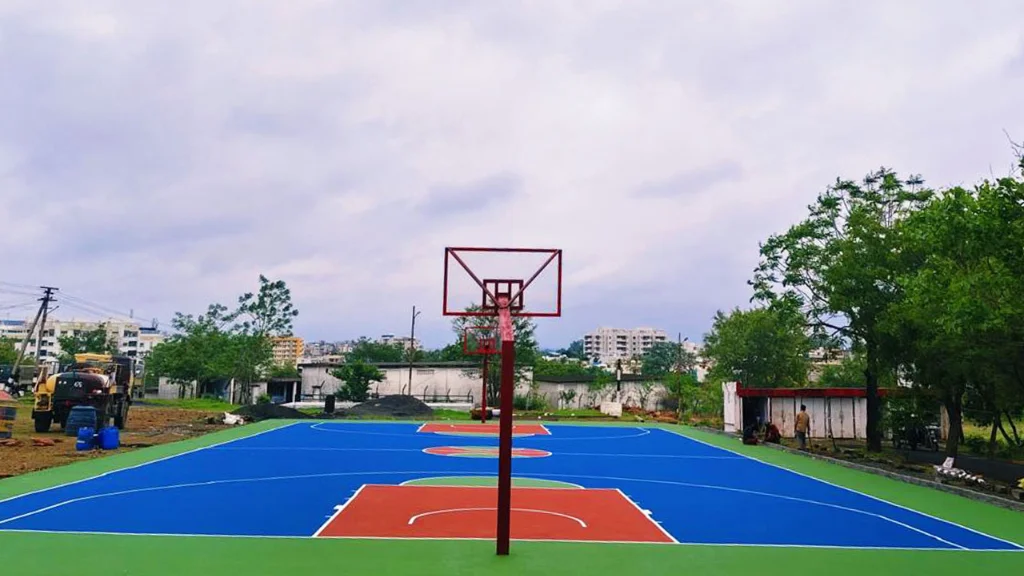
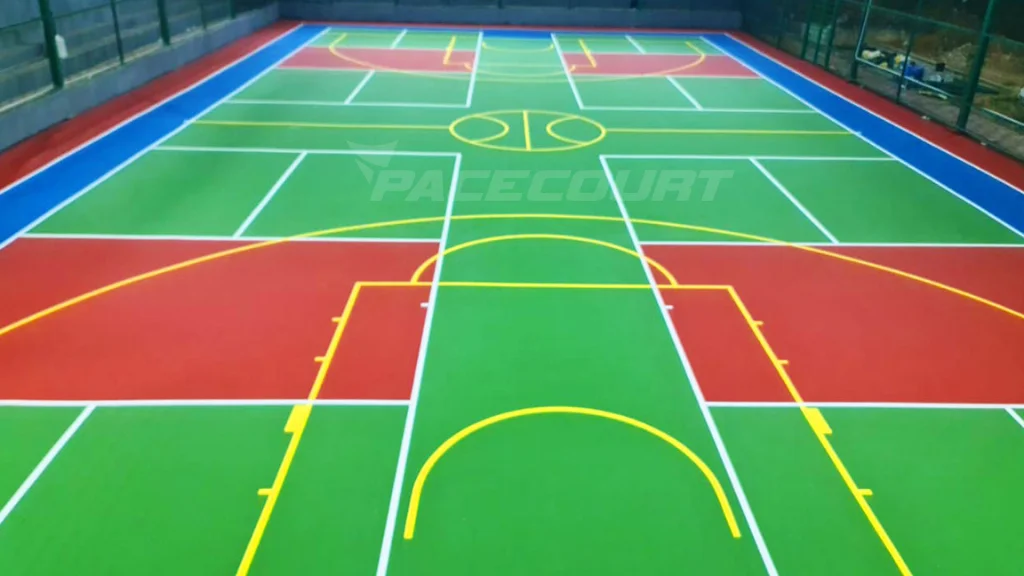
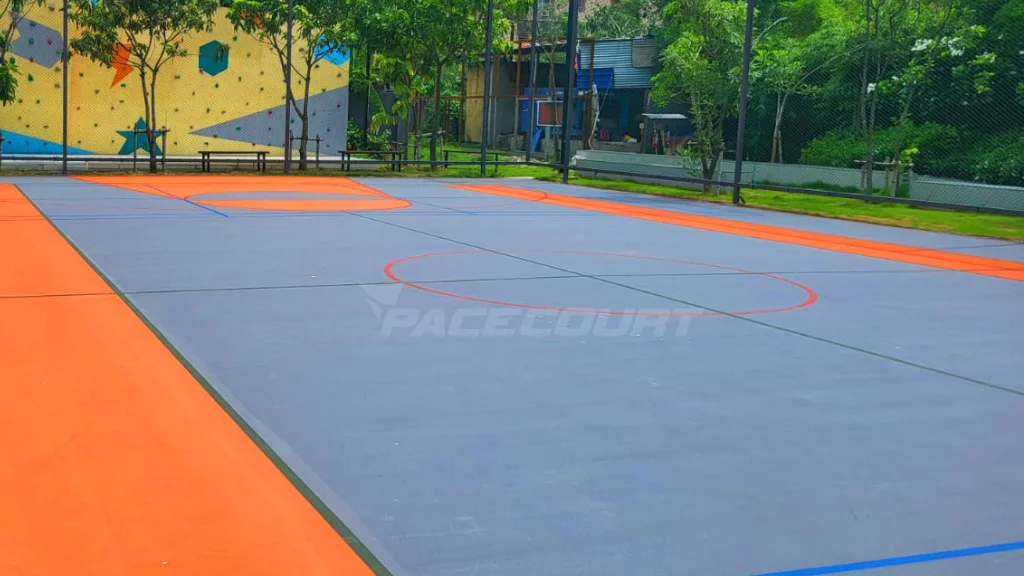
Outdoor basketball flooring, on the other hand, is built to withstand sunlight, rain, and temperature changes. Synthetic acrylic surfaces and modular tiles are the most common choices for outdoor courts in India. These systems are durable, slip-resistant, and more cost-effective, making them suitable for residential societies, parks, and public playgrounds.
The right flooring depends on several factors including location, usage frequency, player level, climate conditions, and budget. Understanding the differences between indoor and outdoor basketball flooring helps you select a surface that delivers long-term performance, safety, and value for your project.
Safety Standards and Certifications for Basketball Flooring
When choosing basketball court flooring—whether indoor or outdoor—safety is absolutely essential. Certified flooring ensures player protection, performance consistency, and long-term durability. Here’s an easy-to-understand overview of the major safety standards and certifications you should know:
🧱 1. Shock Absorption & Impact Protection
Good basketball surfaces reduce the risk of injuries by absorbing impact and lowering stress on joints.
Important Standards:
- ASTM F1292 – Standard for impact attenuation (surface’s ability to cushion falls).
- EN 14808 / EN 14809 – European standards for shock absorption and vertical deformation.
What it means for players:
Better shock absorption reduces ankle, knee, and lower-back strain, especially during running, jumping, and sudden stops.
🏃 2. Ball Bounce & Surface Performance
A proper court should have consistent ball response across the entire playing area.
Key Tests:
- ASTM F2117 – Measures force reduction and deformation.
- EN 12235 – Evaluates ball bounce and rebound behavior.
Good flooring ensures:
• Uniform bounce
• Predictable play
• Fair competition
🦶 3. Slip Resistance & Traction
Traction prevents slips and falls, especially when players sprint or change direction quickly.
Relevant Standards:
- ASTM D2047 / EN 13036-4 – Measure surface friction and slip resistance.
- Coefficient of Friction (COF) targets ensure safe grip without “catching” the shoes.
High traction = safer cut moves + fewer accidents.
🧪 4. Fire Safety & Material Quality
Indoor flooring must meet fire-resistance and low-smoke criteria.
Fire Safety Standards Include:
- ASTM E648 / NFPA 253 – Critical Radiant Flux for flame spread control.
- ISO 9239-1 – European performance for burn behavior.
This is especially important in enclosed gymnasiums.
🌍 5. Environmental & Material Certifications
Sustainable materials are safer for players and better for long-term use.
Popular Certifications:
- ISO 14001 – Environmental management system compliance.
- LEED / Green Label – Recognition for low VOC and eco-friendly materials.
Lower VOC emissions improve indoor air quality and player comfort.
🏆 6. Sport Governing Body Approvals
Official approvals ensure the flooring meets performance and safety requirements for competition-level play.
Examples:
- FIBA (International Basketball Federation) – Recognized court specifications for professional play.
- NBA / NCAA Standards – Benchmarks often used by elite indoor facilities.
Although not mandatory for all installations, these ensure standardized play surfaces.
📌 Why These Standards Matter
✔ Reduce injuries
✔ Improve player experience
✔ Support consistent play
✔ Increase flooring lifespan
✔ Provide buyer confidence
✔ Essential for institutional projects (schools, colleges, academies)
🏁 Quick Checklist Before Installation
✅ Shock absorption test passed
✅ Good ball bounce consistency
✅ High slip resistance rating
✅ Fire safety compliance (indoor)
✅ Material quality & sustainability certification
✅ Approved by relevant sports authorities
Installation Process and Timeframe for Basketball Court Flooring
Installing basketball court flooring is a structured process that ensures durability, safety, and professional playing performance. Whether indoor or outdoor, following the correct installation steps is essential for long-term results.
Below is a typical installation workflow:
✅ Step 1: Site Inspection & Layout Planning
Before work begins, the site is inspected for level, drainage, and access. Court dimensions, orientation, and marking layout are finalized at this stage.
⏱ Time: 1 day
✅ Step 2: Base Preparation (Most Critical Stage)
A strong base is created using PCC concrete or asphalt. Proper slope is added for outdoor courts to prevent water stagnation.
This stage includes:
• Excavation (if required)
• Compaction
• Concrete/asphalt laying
• Curing time
⏱ Time: 7–14 days (including curing)
✅ Step 3: Surface Application
Depending on flooring type:
Outdoor Acrylic Courts
Multiple acrylic layers are applied:
• Primer coat
• Cushion layers (optional)
• Texture coat
• Color coats
Each layer needs drying before the next application.
⏱ Time: 3–5 days
Indoor PU / Wooden Flooring
Includes:
• Subfloor preparation
• Shock pad installation
• PU pouring or wood panel fixing
⏱ Time: 4–7 days
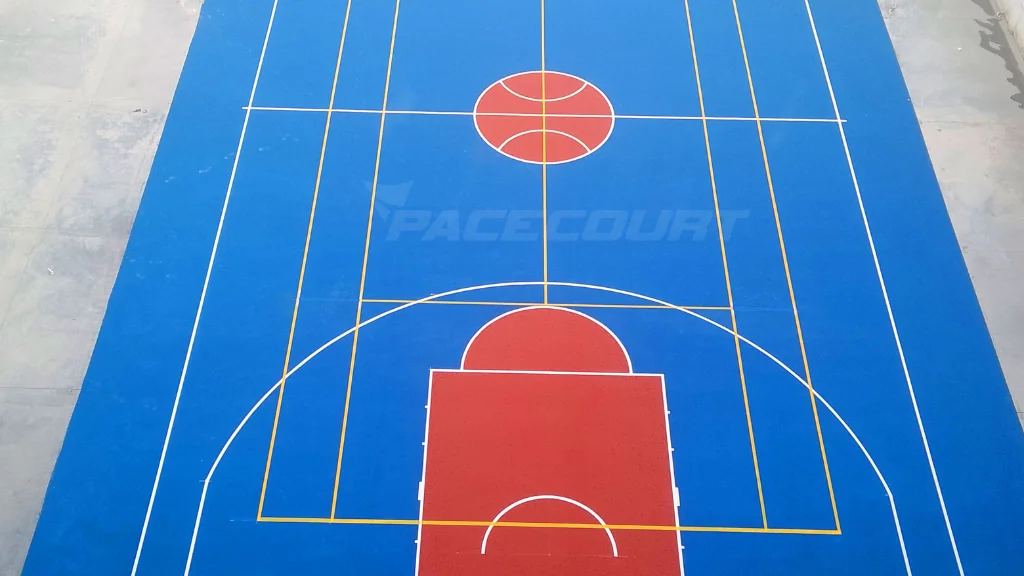
✅ Step 4: Line Marking & Court Finishing
Official basketball markings are painted according to standard dimensions. Net posts, padding, and accessories are installed.
⏱ Time: 1 day
✅ Step 5: Final Inspection & Handover
Surface quality, slope, grip, and markings are checked before handover.
⏱ Time: Same day
⏳ Total Installation Time (Approx)
| Court Type | Estimated Timeline |
|---|---|
| Outdoor Acrylic Basketball Court | 10–20 days |
| Indoor PU Basketball Court | 7–12 days |
| Indoor Wooden Court | 10–15 days |
(Timeline may vary based on weather, site condition, and project size.)
📌 Factors That Can Affect Timeline
• Weather conditions (for outdoor courts)
• Base readiness
• Cushion system complexity
• Site accessibility
• Custom colors or logos
• Additional work (fencing, lighting)
🏀 Pro Tip
Never rush curing or coating stages — proper drying ensures stronger bonding, longer life, and better player safety.
Common Mistakes When Choosing Basketball Court Flooring
Selecting the right basketball court flooring is crucial for player safety, performance, and long-term durability. Unfortunately, many projects fail to deliver expected results due to common decision-making mistakes. Avoiding these errors can save significant time, money, and future maintenance costs.
Here are the most frequent mistakes to watch out for:
1️⃣ Choosing Flooring Based Only on Price
Many buyers select the cheapest option without considering durability or safety. Low-cost materials often wear out quickly, lose grip, and require frequent repairs.
👉 Tip: Always balance cost with quality, lifespan, and warranty.
2️⃣ Ignoring Indoor vs Outdoor Requirements
Indoor flooring systems are not designed to handle rain, UV exposure, or temperature changes. Using the wrong surface outdoors leads to cracking, fading, and slippery courts.
👉 Tip: Select UV-resistant acrylic for outdoor courts and PU or wooden flooring for indoor courts.
3️⃣ Poor Base Preparation
Even the best flooring fails on a weak base. Uneven concrete, improper slope, or poor compaction causes surface cracks and water stagnation.
👉 Tip: Invest in proper base construction before applying any sports surface.
4️⃣ Skipping Shock Absorption
Hard surfaces without cushioning increase stress on players’ knees and ankles, raising injury risk.
👉 Tip: For academies and frequent-use courts, always consider cushioned systems.
5️⃣ Overlooking Slip Resistance
Low-quality coatings can become slippery, especially when dusty or wet.
👉 Tip: Ensure your flooring has anti-slip texture and proper traction ratings.
6️⃣ Not Checking Certifications
Many installations proceed without verified safety standards, which affects player safety and institutional approvals.
👉 Tip: Ask for flooring that meets recognized sports performance and safety standards.
7️⃣ Choosing Inexperienced Contractors
Untrained installers often skip crucial steps like curing time or correct layer thickness.
👉 Tip: Work with professional sports flooring contractors with proven basketball projects.
8️⃣ Forgetting Maintenance Planning
Some flooring types require periodic recoating or cleaning. Ignoring this leads to faster surface degradation.
👉 Tip: Understand maintenance needs before finalizing materials.
🏀 Final Advice
A basketball court is a long-term investment. The right flooring choice improves play quality, reduces injuries, and lowers lifetime costs.
Final Thoughts: Choosing the Best Basketball Court Flooring for Your Needs
The best basketball court flooring depends on who is playing, where they’re playing, and how serious the game is. Beginners need protection. Intermediate players need balance. Advanced players need precision. Choose wisely—the floor will shape the game more than you think.
Upgrade Your Sports Court Today
Get premium synthetic acrylic flooring designed for durability, grip, and performance.
Get Free Consultation